White Noise January 2020 Process
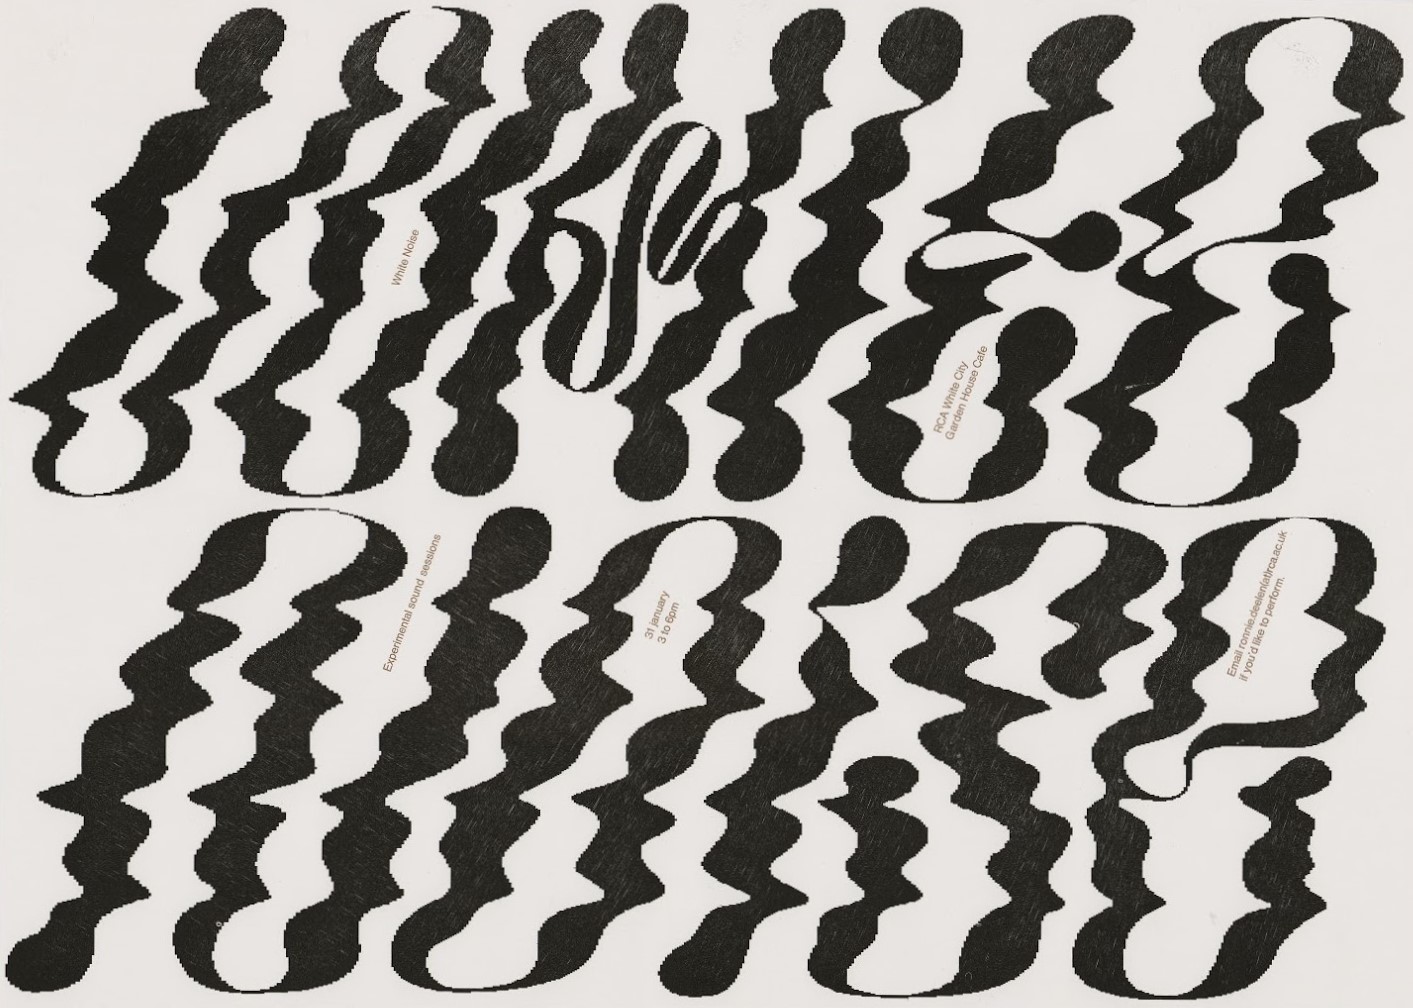
Some notes on how I made this poster for White Noise (a series of experimental sound sessions at the Royal College).

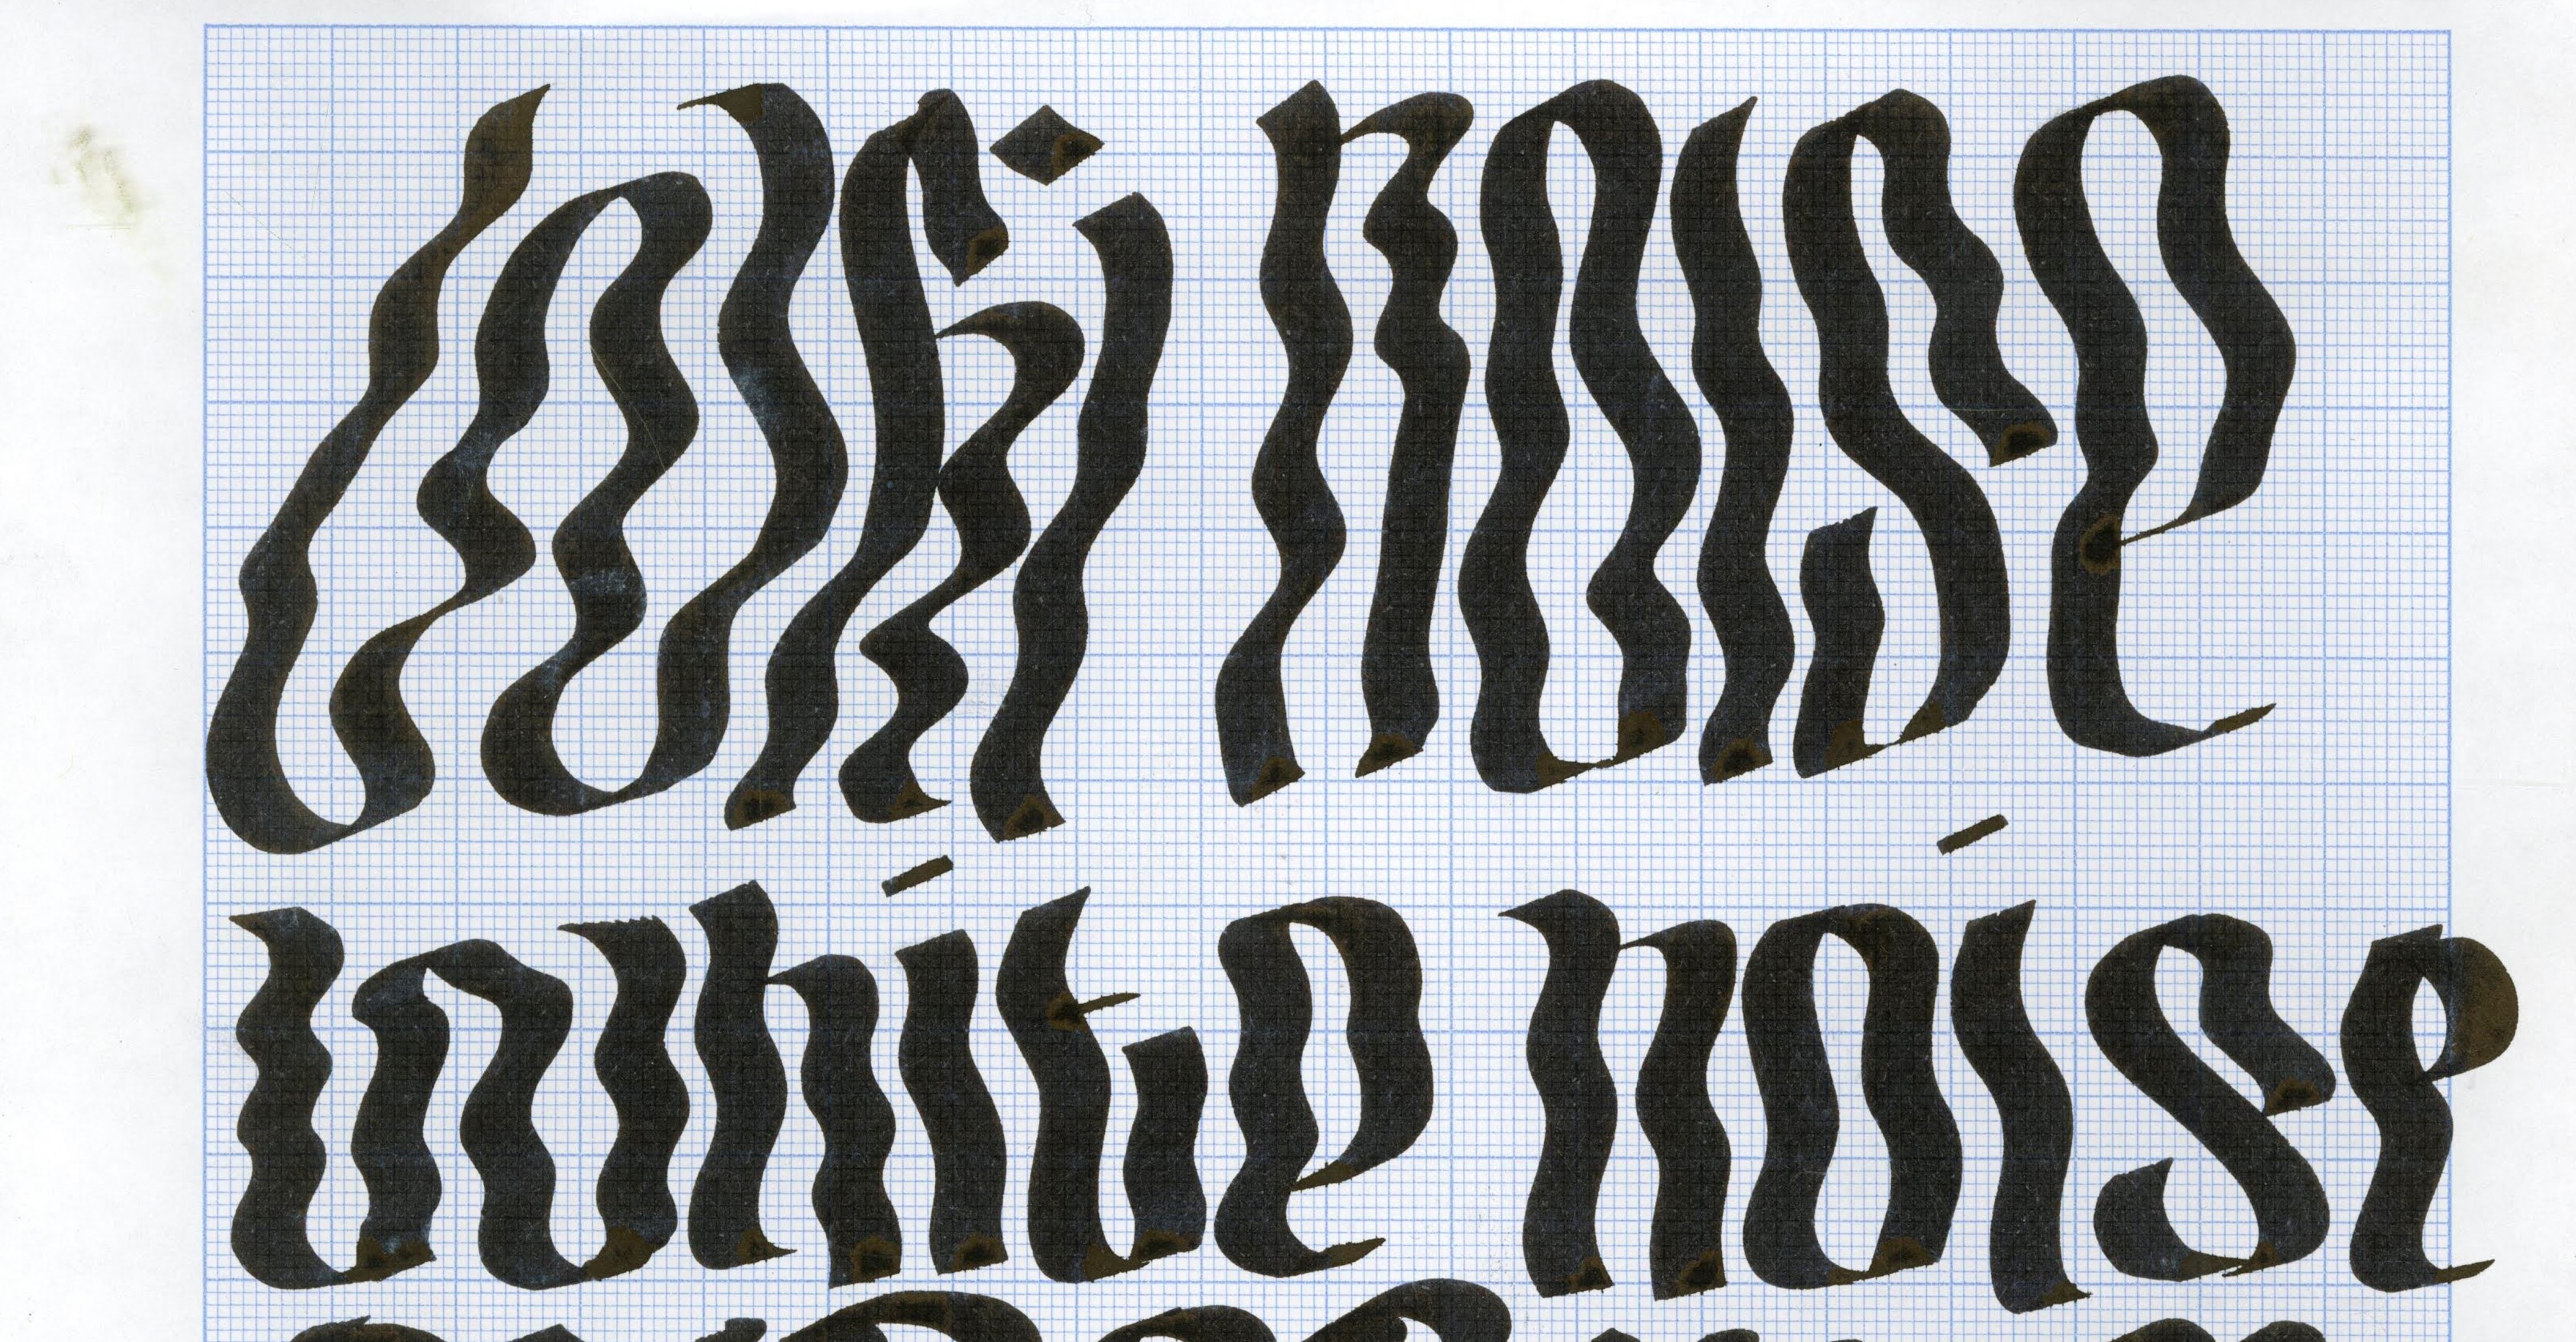 Broad-Nib Lettering
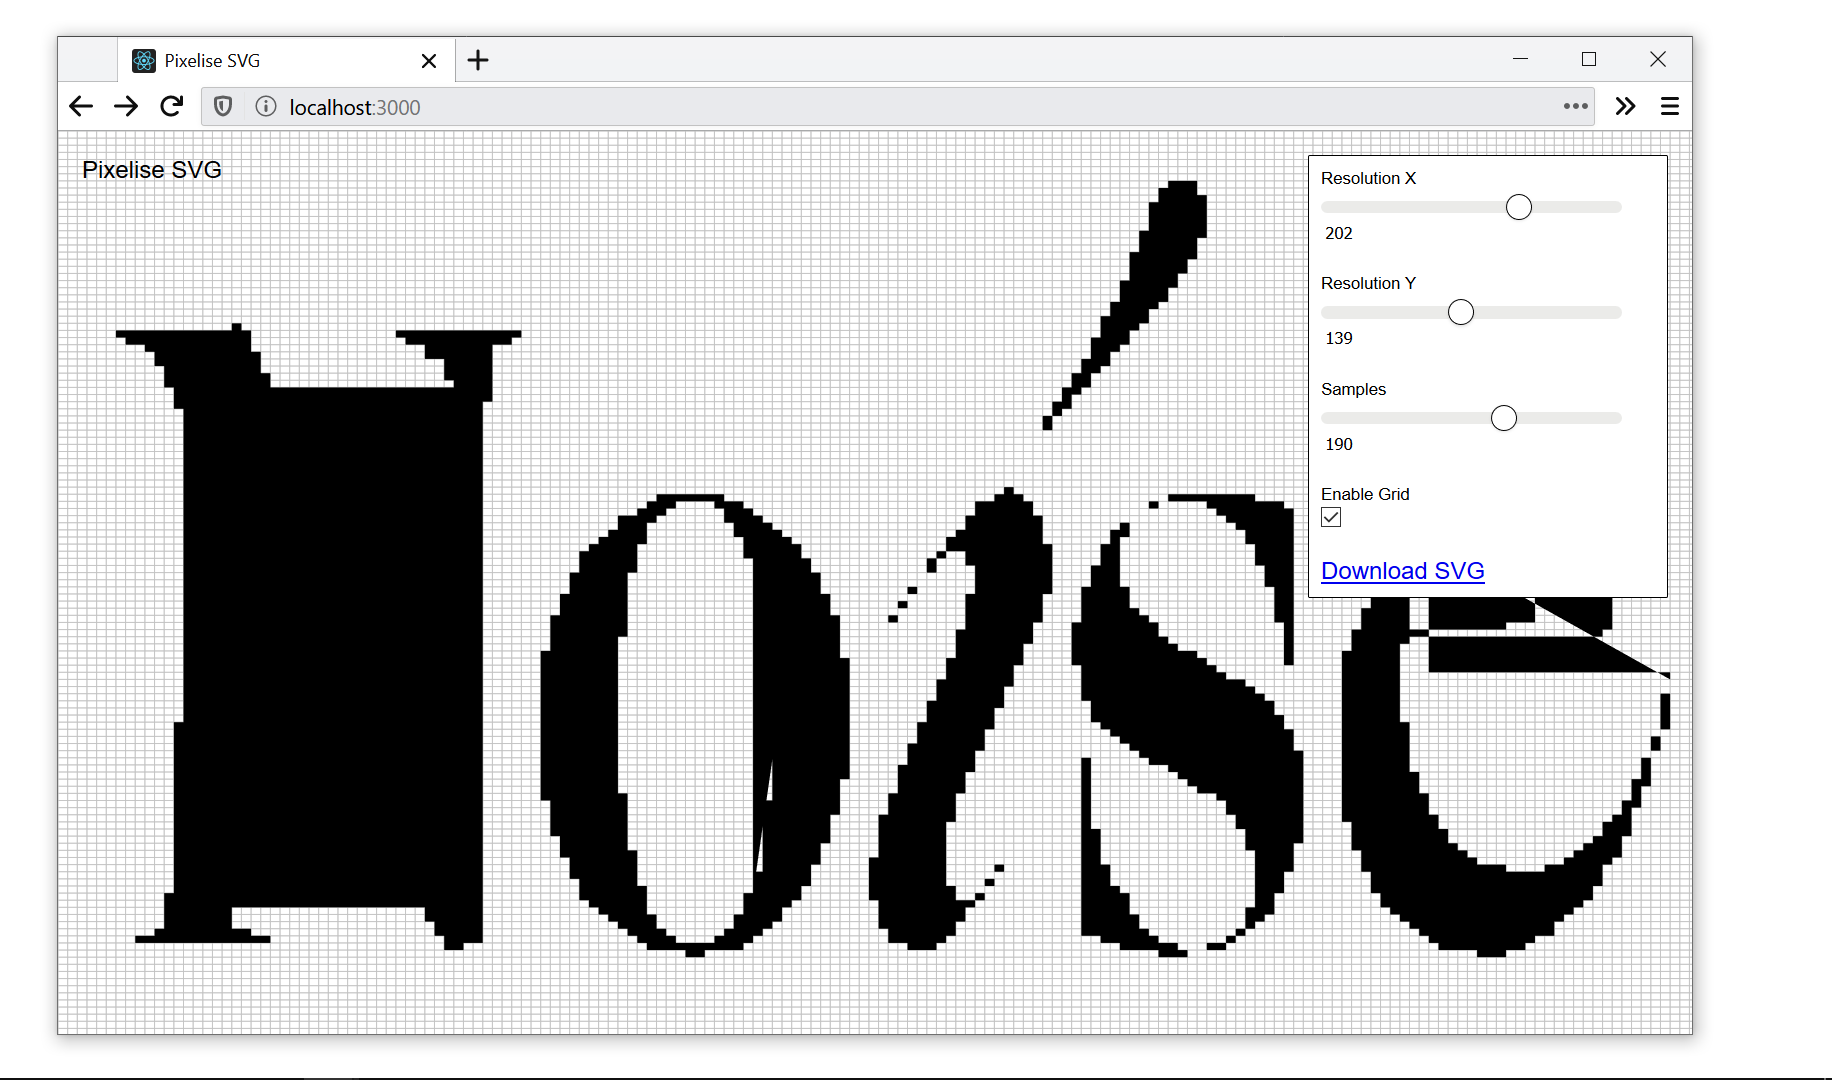 Pixelise SVG
The pixelalation is done with a custom tool built in React. It takes an SVG file exported from Illustrator, adds points along all the shapes, then snaps them to points on a predefined grid.
The tool outputs a new SVG, which I can import back into Illustrator to clean up and use.

Next, I produce a set of working drawings for the laser cutter. These drawings are 600x400mm because that's a size of sheet material I can easily source.
The letterforms are cut from 2.5mm MDF sheets.
I also prepare the base on the laser cutter. I can't easily buy a 500x700 sheet material, so I piece it together from two smaller sheets. Then, I score-cut the flipped lettering into them so I know where to place the raised letterforms later.
I use screws to mount the plate onto an 18mm MDF base to bring it roughly to type height (18 + 2.5 + 2.5 = 23). The screws let me reuse the base.
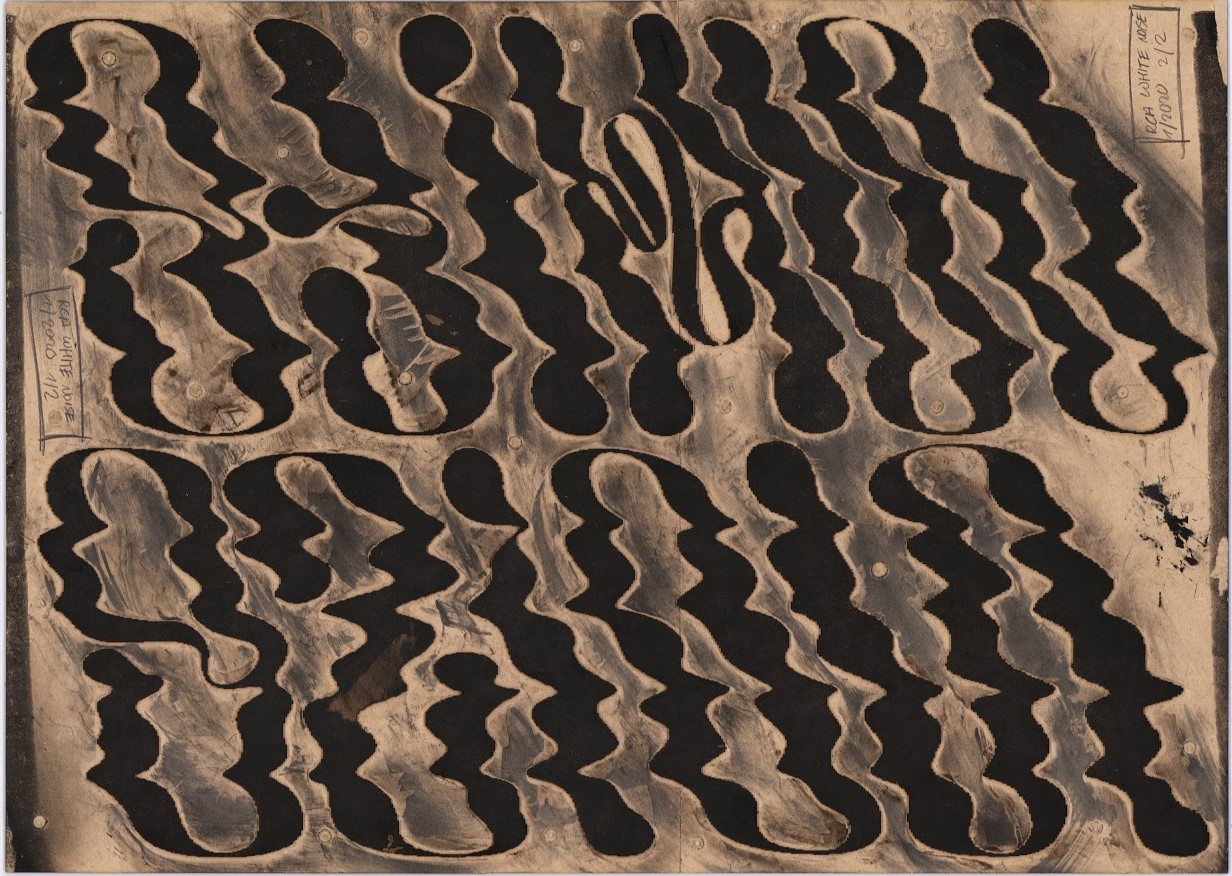 Finished plate (after printing). Note the seam slightly right of the centre