Laser-engraved acrylic for letterpress printing
Say you wanted to letterpress-print photographic (i.e raster) images.
In my understanding the traditional way of doing this would be to make (or more likely pay a company to make) an etched plate. These are made by applying a photo-sensitive coat to the plate, then exposing it either through a film or using a specialised plate-maker (the latter saves you from having to produce a film negative).
Plates are made from different materials, including copper (the most expensive, but also the most durable), zink (less expensive) and, more recently, polymer materials. (FN: There seems to be a growing scene around the photo-polymer plate process. There is a whole book on it. From what I understand, this is also the process that Erik Spiekerman uses at p89 in Berlin to print entire books. They also have some kind of home-built platemaker. There isn't much information about it available, but it basically looks like an x/y plotter with a UV light attached to it)
The plates are manufactured to a precise thickness, so you can mount them on these specialised mounting blocks by driving nails right through the plate into wooden dowels inside the block.
Etched plates are great: The prints are crisp, the detail is great (plate makers have north of 1000dpi) and outside of industrial printing they basically last forever. But they're also expensive, and the fact that you have to commission them means you can't really experiment very quickly.

Enter Laser-Engraved plates
Laser cutters are much easier to come by than platemakers, and they're easy enough to use that you can dig into the settings yourself. To print from an acrylic plate, you have to bring it up to type high (in England, this is 23.3mm). For me, it works out like this:
| Material | Thickness |
|---|---|
| Acrylic | 3mm |
| MDF | 2mm |
| MDF | 18mm |
| Total | 23mm |
I glue the acrylic to the 2mm MDF (using UHU), then use wood screws to attach that to the 18mm base. This way, I can re-use the base over and over.
Neither the MDF nor the acrylic are precision materials, so the actual thickness is often different than the one on the label. I got lucky, and it turns out my 18mm base is actually 18.2mm or so -- If you add the glue between the Acrylic and the 2mm MDF, that usually gets me pretty close to type high.
Producing Halftones
| DPI | Screening |
|---|---|
| 1000 | Ordered Dithering |
| 600 | Stucki |
| 500 | Jarvis |
| 333 | Floyd Steinberg |
| 250 | c |
| 125 | x |
Results
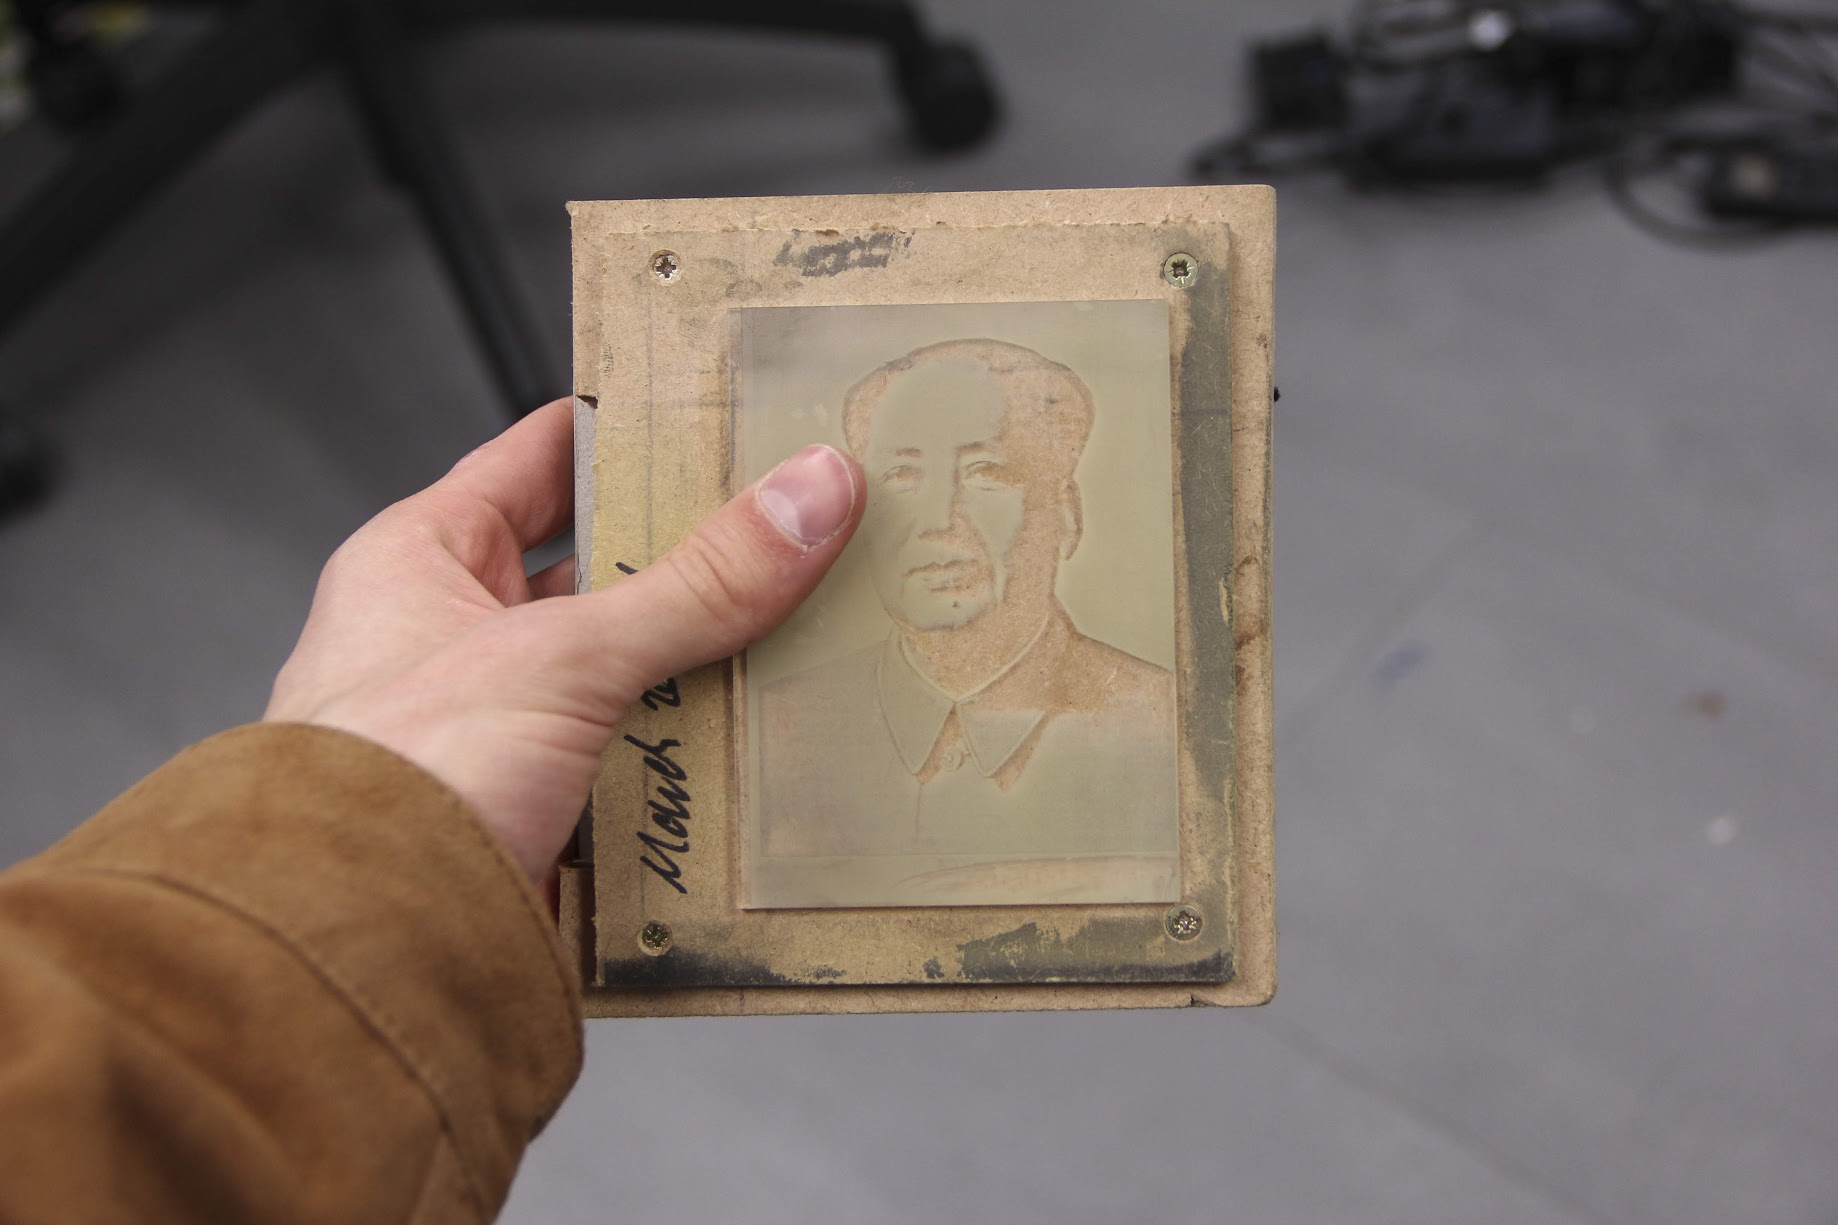
The laser cutter I've been using can produce halftones at different resolutions. I assumed lower resolution plates (with bigger dots) would print easier, but it turns out the best results are between 300 and 600dpi. At lower resolutions, the side-to-side movement of the laser cutter produces a visible line pattern, while at higher resolutions the dots are so small they melt into each other.
The main issue is that the relief is too shallow, so small details tend to fill up with ink.
You can turn up the power on the laser cutter, but at a certain point the raster dots begin to melt into each other. I think running the engraving programme twice might work - though you could end up with moire effects if the registration isn't perfect.
For now, I'm running the engraving program once at medium power, and cleaning the plate after every few prints.
This process seems to be pretty much unusable for type - the letters are blurry, with visible artifacts of the lasers' movement. If the type is big enough, cutting it out of acrylic produces much better results.
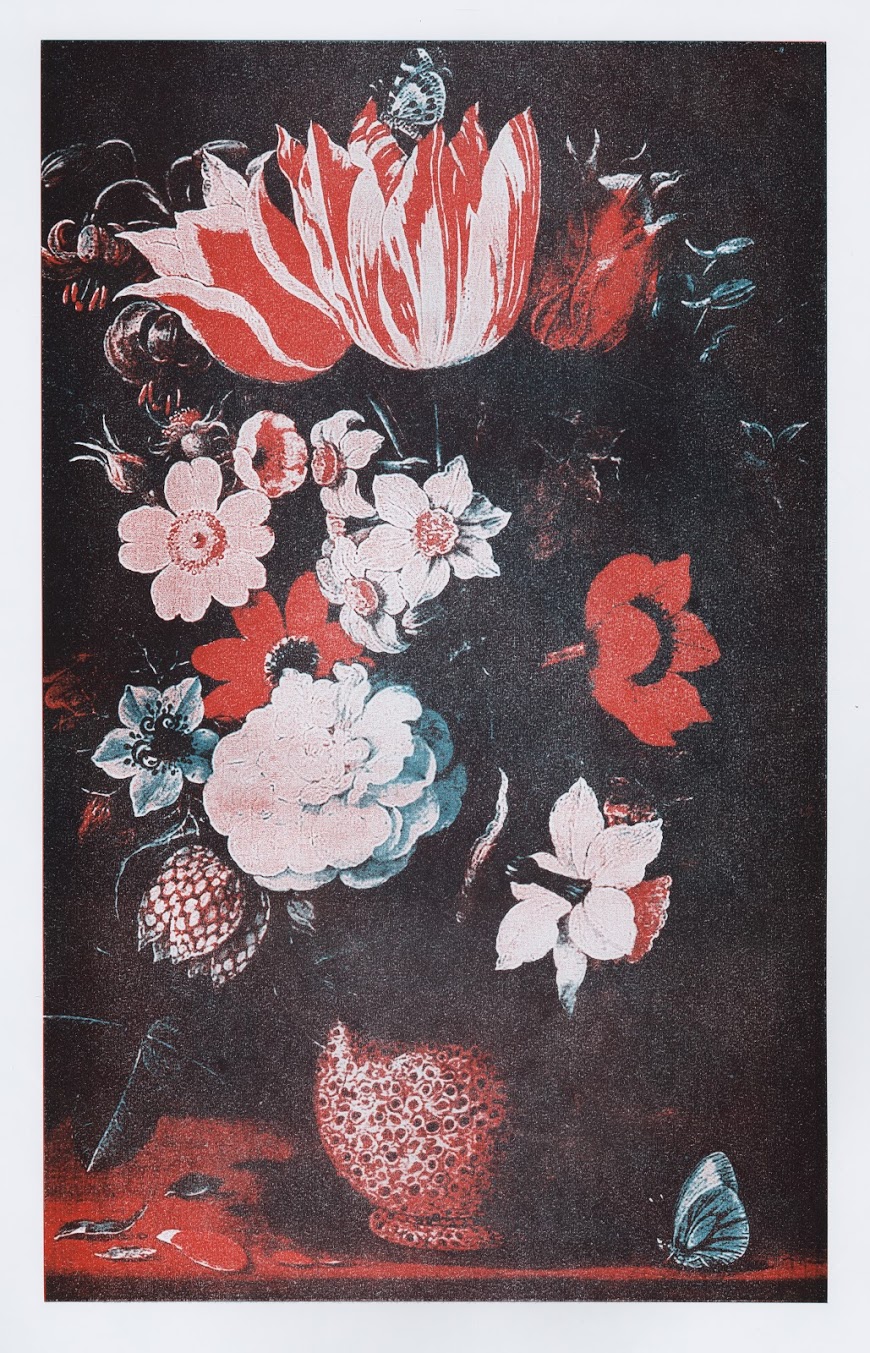
Multi-colour work is also possible. I'm using the laser cutter to mark the locations of the mounting screws in the top MDF plate, and pre-drilling them into the base so the two plates sit in roughly the same location. Then I'm using the lays on the press to fine-adjust.